Have you took photos when you come back to school after summer or winter vacation is finished.
Now you can use iPixSoft Flash Slideshow Creator to make photos more funny and vivid. This step by step flash slideshow tutorial will guide you to turn photos into a back to school slideshow and share online conveniently.
Back to School Slideshow Sample:
Here's what you'll need:
1.Back to school photos(JPG/JPEG/GIF/BMP/TIF/DIB) and background music.
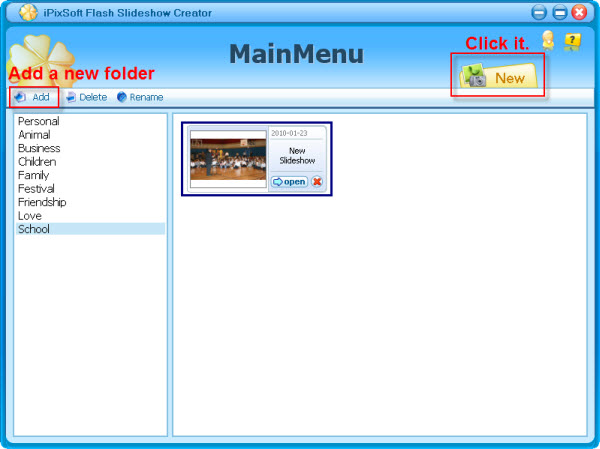
Step 1 : Install Flash Slideshow Creator and Create a New Slideshow Click here to download Flash Slideshow Creator and install it. Then launch this program and click the “New” button to create a new slideshow.
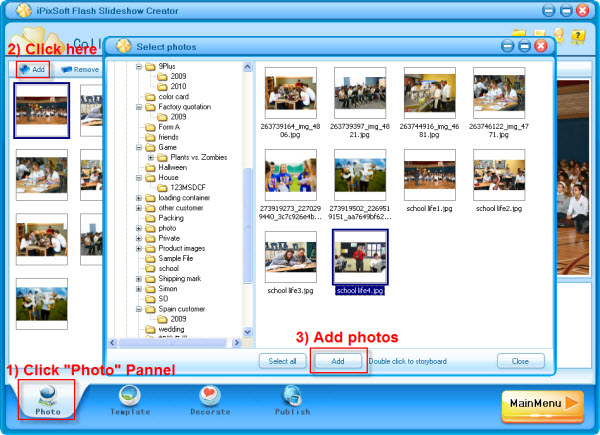
Step 2 : Import your photos and add a background music
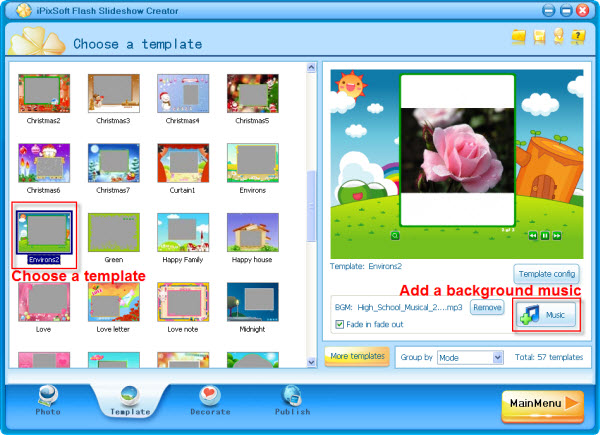
Based on the program, some photos should be added. A pop-up window as the following picture will guide you to adjust your photos with brightness, contrast, effect, etc. After finishing this part, let’s go on choose a designed template and a background music. Watch Free Flash Slideshow Templates >>
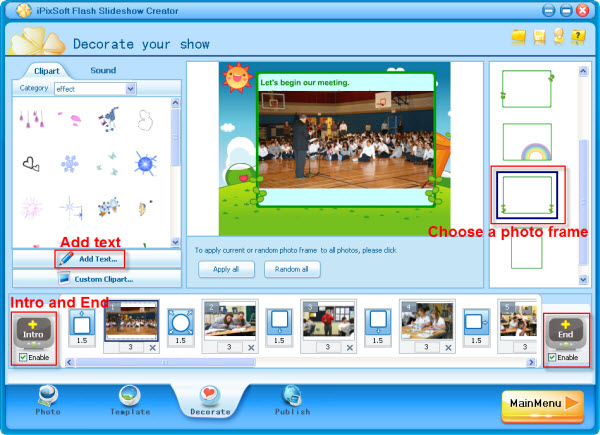
Step 3: Decorate the slideshow with Transition effects,Texts
The supreme procedure of slideshow is the decoration that we carry out. Add proper decoration in your photos, like clipart, text, Intro and End, photo transition, duration are especially important because they provide necessary effect.
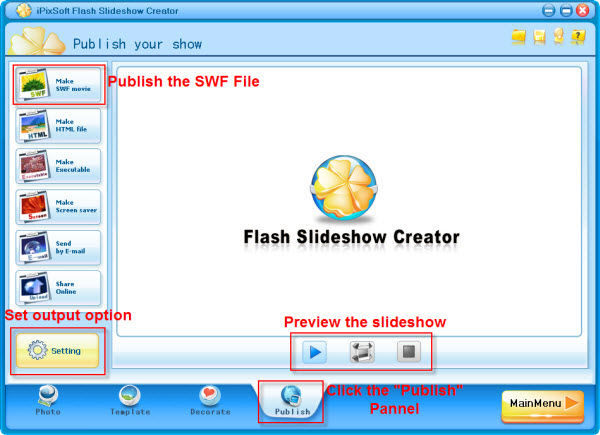
Step 4 : Publish the Back to School Slideshow
A slideshow is more than a gift for your friends. It is a souvenir which people can record their life. Click the “Make SWF movie” button to publish your back to school slideshow. Do all these procedures, your charming slideshow is finished. Whereas, you can make Html File. Executable, Screen saver or even send by Email with Flash Slidershow Creator.